ADVERTISEMENT
ADVERTISEMENT
ADVERTISEMENT
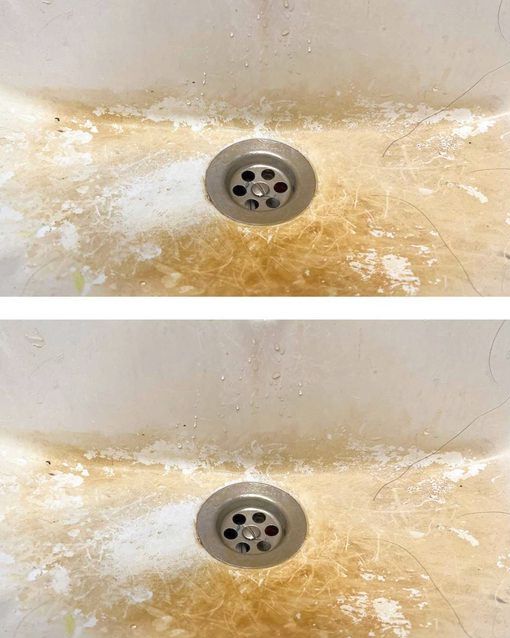
A clean sink not only looks great but also promotes a healthier environment in your home. If you’re struggling with a stained or grimy sink, this guide will help you transform it from dirty to sparkling clean. In the images, you can see the dramatic difference that proper cleaning can make. Let’s dive into the steps to achieve this satisfying transformation.
Why Keeping Your Sink Clean is Important
Regular cleaning of your sink is crucial for several reasons:
- Hygiene: A clean sink prevents the buildup of bacteria and mold, which can cause illness.
- Aesthetics: A sparkling sink improves the overall appearance of your kitchen or bathroom.
- Maintenance: Regular cleaning prevents stains and buildup that can damage the sink material over time.
Steps to Clean Your Sink Effectively
Materials Needed:
- Baking soda
- White vinegar
- Dish soap
- Lemon or essential oils (optional)
- Soft sponge or cloth
- Old toothbrush
- Paper towels or microfiber cloth
Instructions:
- Remove Debris: Start by removing any large debris or food particles from the sink. Rinse the sink with warm water.
- Apply Baking Soda: Sprinkle baking soda over the entire surface of the sink. Baking soda acts as a mild abrasive that helps lift stains and grime without scratching the surface.
- Scrub the Sink: Use a soft sponge or cloth to scrub the sink in circular motions. Pay special attention to stained areas. For tough stains, use an old toothbrush to scrub the baking soda into the crevices and around the drain.
- Add Vinegar: Pour white vinegar over the baking soda. The mixture will fizz, helping to break down stubborn grime. Let it sit for a few minutes to allow the reaction to work.
- Rinse Thoroughly: Rinse the sink with warm water to wash away the baking soda and vinegar mixture. Ensure all residue is removed.
- Clean the Faucet: Use a mixture of dish soap and water to clean the faucet and handles. An old toothbrush can help get into small areas around the faucet base.
- Polish the Sink: For an extra shine, use a few drops of lemon juice or essential oil on a paper towel or microfiber cloth to polish the sink surface. This will also leave a fresh scent.
- Dry the Sink: Use a clean paper towel or microfiber cloth to dry the sink completely. This step helps prevent water spots and keeps the sink looking pristine.
Before and After Results
The images show the effectiveness of these cleaning steps. The “before” image depicts a sink with noticeable stains, grime, and buildup around the drain. In the “after” image, the sink is visibly cleaner, with a bright and shiny surface free of stains and grime.
Maintenance Tips:
- Daily Cleaning: Wipe down the sink after each use to prevent buildup.
- Weekly Deep Cleaning: Perform a thorough cleaning once a week to maintain the sink’s appearance and hygiene.
- Preventive Measures: Avoid letting food particles, coffee grounds, or other debris sit in the sink for extended periods.
Keywords:
- Clean sink transformation
- Effective sink cleaning tips
- Baking soda and vinegar sink cleaning
- Kitchen sink cleaning guide
- Remove sink stains
- Deep cleaning your sink
- Sparkling clean sink
- How to clean a dirty sink
- Sink hygiene tips
- Maintaining a clean sink
Thank you for following me on Facebook , Pinterest !
For more recipes click here!