
ADVERTISEMENT
ADVERTISEMENT
ADVERTISEMENT
Table of Contents
ToggleHawaiian Banana Bread: A Tropical Twist on a Classic Favorite
When you think of banana bread, what comes to mind? Comfort. Warmth. A soft, sweet slice paired with a cup of coffee. But what if you could take that familiar experience and infuse it with a tropical flair? Hawaiian Banana Bread does just that—bringing together the classic banana bread you love with pineapple and coconut for a moist, flavorful treat that’s hard to resist.
In this article, we’ll explore what makes Hawaiian Banana Bread stand out, share a foolproof recipe, provide expert baking tips, and answer frequently asked questions to help you create a loaf that’s bursting with island flavor.
️ What Is Hawaiian Banana Bread?
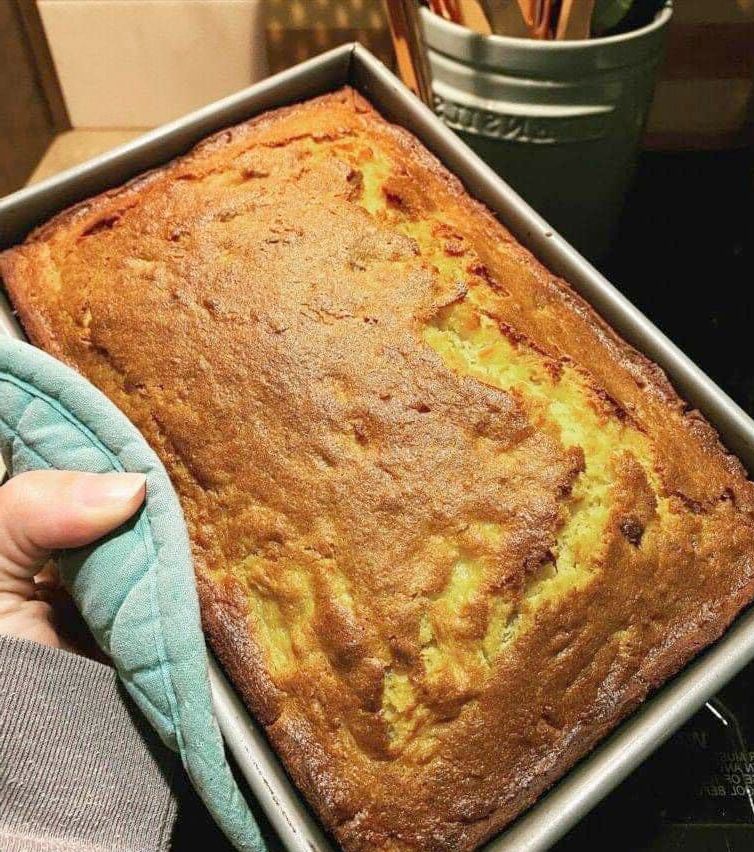
Hawaiian Banana Bread is a fruity variation of traditional banana bread that incorporates crushed pineapple and shredded coconut into the batter. These additions not only enhance the flavor but also improve the texture, making each bite moist, rich, and tropical.
Unlike typical banana bread that leans heavily on spice or chocolate chips, the Hawaiian version is all about bright fruitiness. It pairs wonderfully with a wide variety of spreads, toppings, or even a scoop of vanilla ice cream.
Ingredients Breakdown
Each ingredient in this recipe plays an important role in creating that perfect tropical loaf:
-
Butter: Adds richness and a tender crumb.
-
Sugar: Sweetens the loaf and helps it brown.
-
Eggs: Bind the ingredients and add structure.
-
Bananas: Provide moisture, flavor, and natural sweetness.
-
Crushed Pineapple: Adds a tangy-sweet flavor and keeps the bread moist.
-
Flour: The base structure of the bread.
-
Baking Powder & Soda: Essential for the rise.
-
Salt: Balances the sweetness and enhances flavor.
-
Shredded Coconut: Brings a hint of texture and tropical depth.
Hawaiian Banana Bread Recipe
Here’s how to make your very own Hawaiian Banana Bread at home.
Ingredients:
-
½ cup butter, softened
-
1 cup sugar
-
2 large eggs
-
1 ripe banana, mashed
-
8 oz crushed pineapple (do not drain)
-
2 cups all-purpose flour
-
1 tsp baking powder
-
½ tsp baking soda
-
¼ tsp salt
-
¼ cup shredded coconut
Instructions:
-
Preheat oven to 350°F (175°C). Grease a 9×5-inch loaf pan or line it with parchment paper.
-
In a large bowl, cream the butter and sugar together until light and fluffy.
-
Add eggs, one at a time, beating well after each addition.
-
Mix in mashed banana and crushed pineapple (with juice).
-
In a separate bowl, whisk together flour, baking powder, baking soda, and salt.
-
Gradually add dry ingredients to wet mixture, stirring just until combined.
-
Fold in shredded coconut.
-
Pour batter into prepared loaf pan and spread evenly.
-
Bake for 60 minutes, or until a toothpick inserted in the center comes out clean.
-
Allow to cool in the pan for 10 minutes, then remove to a wire rack to cool completely.
Tips for Perfect Banana Bread
To truly perfect your Hawaiian Banana Bread, here are some expert baking tips:
✅ Use Overripe Bananas
The riper the bananas, the sweeter and more flavorful your bread will be. Look for bananas with dark spots and a strong aroma.
✅ Don’t Overmix
Overmixing can result in tough or rubbery banana bread. Mix just until ingredients are combined.
✅ Enhance the Coconut
Toast the shredded coconut lightly before adding it to the batter for a richer, nuttier flavor.
✅ Go Nutty
Add a handful of chopped macadamia nuts or walnuts for crunch and extra island flair.
️ Serving Suggestions
Hawaiian Banana Bread is versatile and can be served in many delightful ways:
-
With a pat of butter or honey drizzle
-
Topped with cream cheese spread
-
As French toast with maple syrup
-
Grilled with caramelized pineapple slices
You can also make muffins with the same batter—just reduce the baking time to around 20-25 minutes!
Storage & Freezing
Hawaiian Banana Bread stores beautifully and retains its moisture over time.
To Store:
-
Wrap the cooled bread tightly in plastic wrap or store in an airtight container.
-
Keeps well at room temperature for 2–3 days.
-
Refrigerate for up to 1 week.
To Freeze:
-
Wrap loaf or slices in foil and place in a freezer-safe bag.
-
Freeze for up to 3 months.
-
Thaw at room temperature or gently warm in the oven.
Variations to Try
Here are a few creative takes on the Hawaiian Banana Bread base:
Chocolate Chip Hawaiian Bread
Add ½ cup of dark chocolate chips for a rich twist.
Macadamia Crunch Banana Bread
Stir in ½ cup of chopped macadamia nuts for texture and island vibes.
Lemon-Glazed Hawaiian Bread
Top with a zesty lemon glaze for a sweet-tart contrast.
Hawaiian Banana Bread for Social Media
Want to show off your baking creation? Try photographing your bread:
-
Next to a tropical flower or palm leaf.
-
With a drizzle of glaze and toasted coconut topping.
-
Sliced open to reveal the moist texture and coconut flakes.
❓ FAQs About Hawaiian Banana Bread
Can I use fresh pineapple instead of crushed canned pineapple?
Yes, but you’ll need to puree the fresh pineapple and include the juice to maintain the moisture level.
What type of coconut should I use?
Either sweetened or unsweetened shredded coconut works well, depending on your desired sweetness.
Can I make this gluten-free?
Absolutely. Substitute the all-purpose flour with a 1:1 gluten-free baking flour blend for a celiac-friendly version.
Why did my bread sink in the middle?
This may be due to:
-
Underbaking
-
Opening the oven door too soon
-
Using too much banana or pineapple (moisture overload)
Can I double the recipe?
Yes, double it and bake in two separate loaf pans for even cooking.
Final Thoughts
Hawaiian Banana Bread is more than just a variation of the classic—it’s a sunny, tropical escape in each bite. Whether you’re making it for a potluck, a cozy breakfast, or just to use up ripe bananas, this recipe delivers every time.
Its tropical ingredients bring joy to both the baker and the lucky tasters. Make it once, and it’s sure to become a go-to favorite.
For more details, visit the full recipe
ADVERTISEMENT