
ADVERTISEMENT
ADVERTISEMENT
ADVERTISEMENT
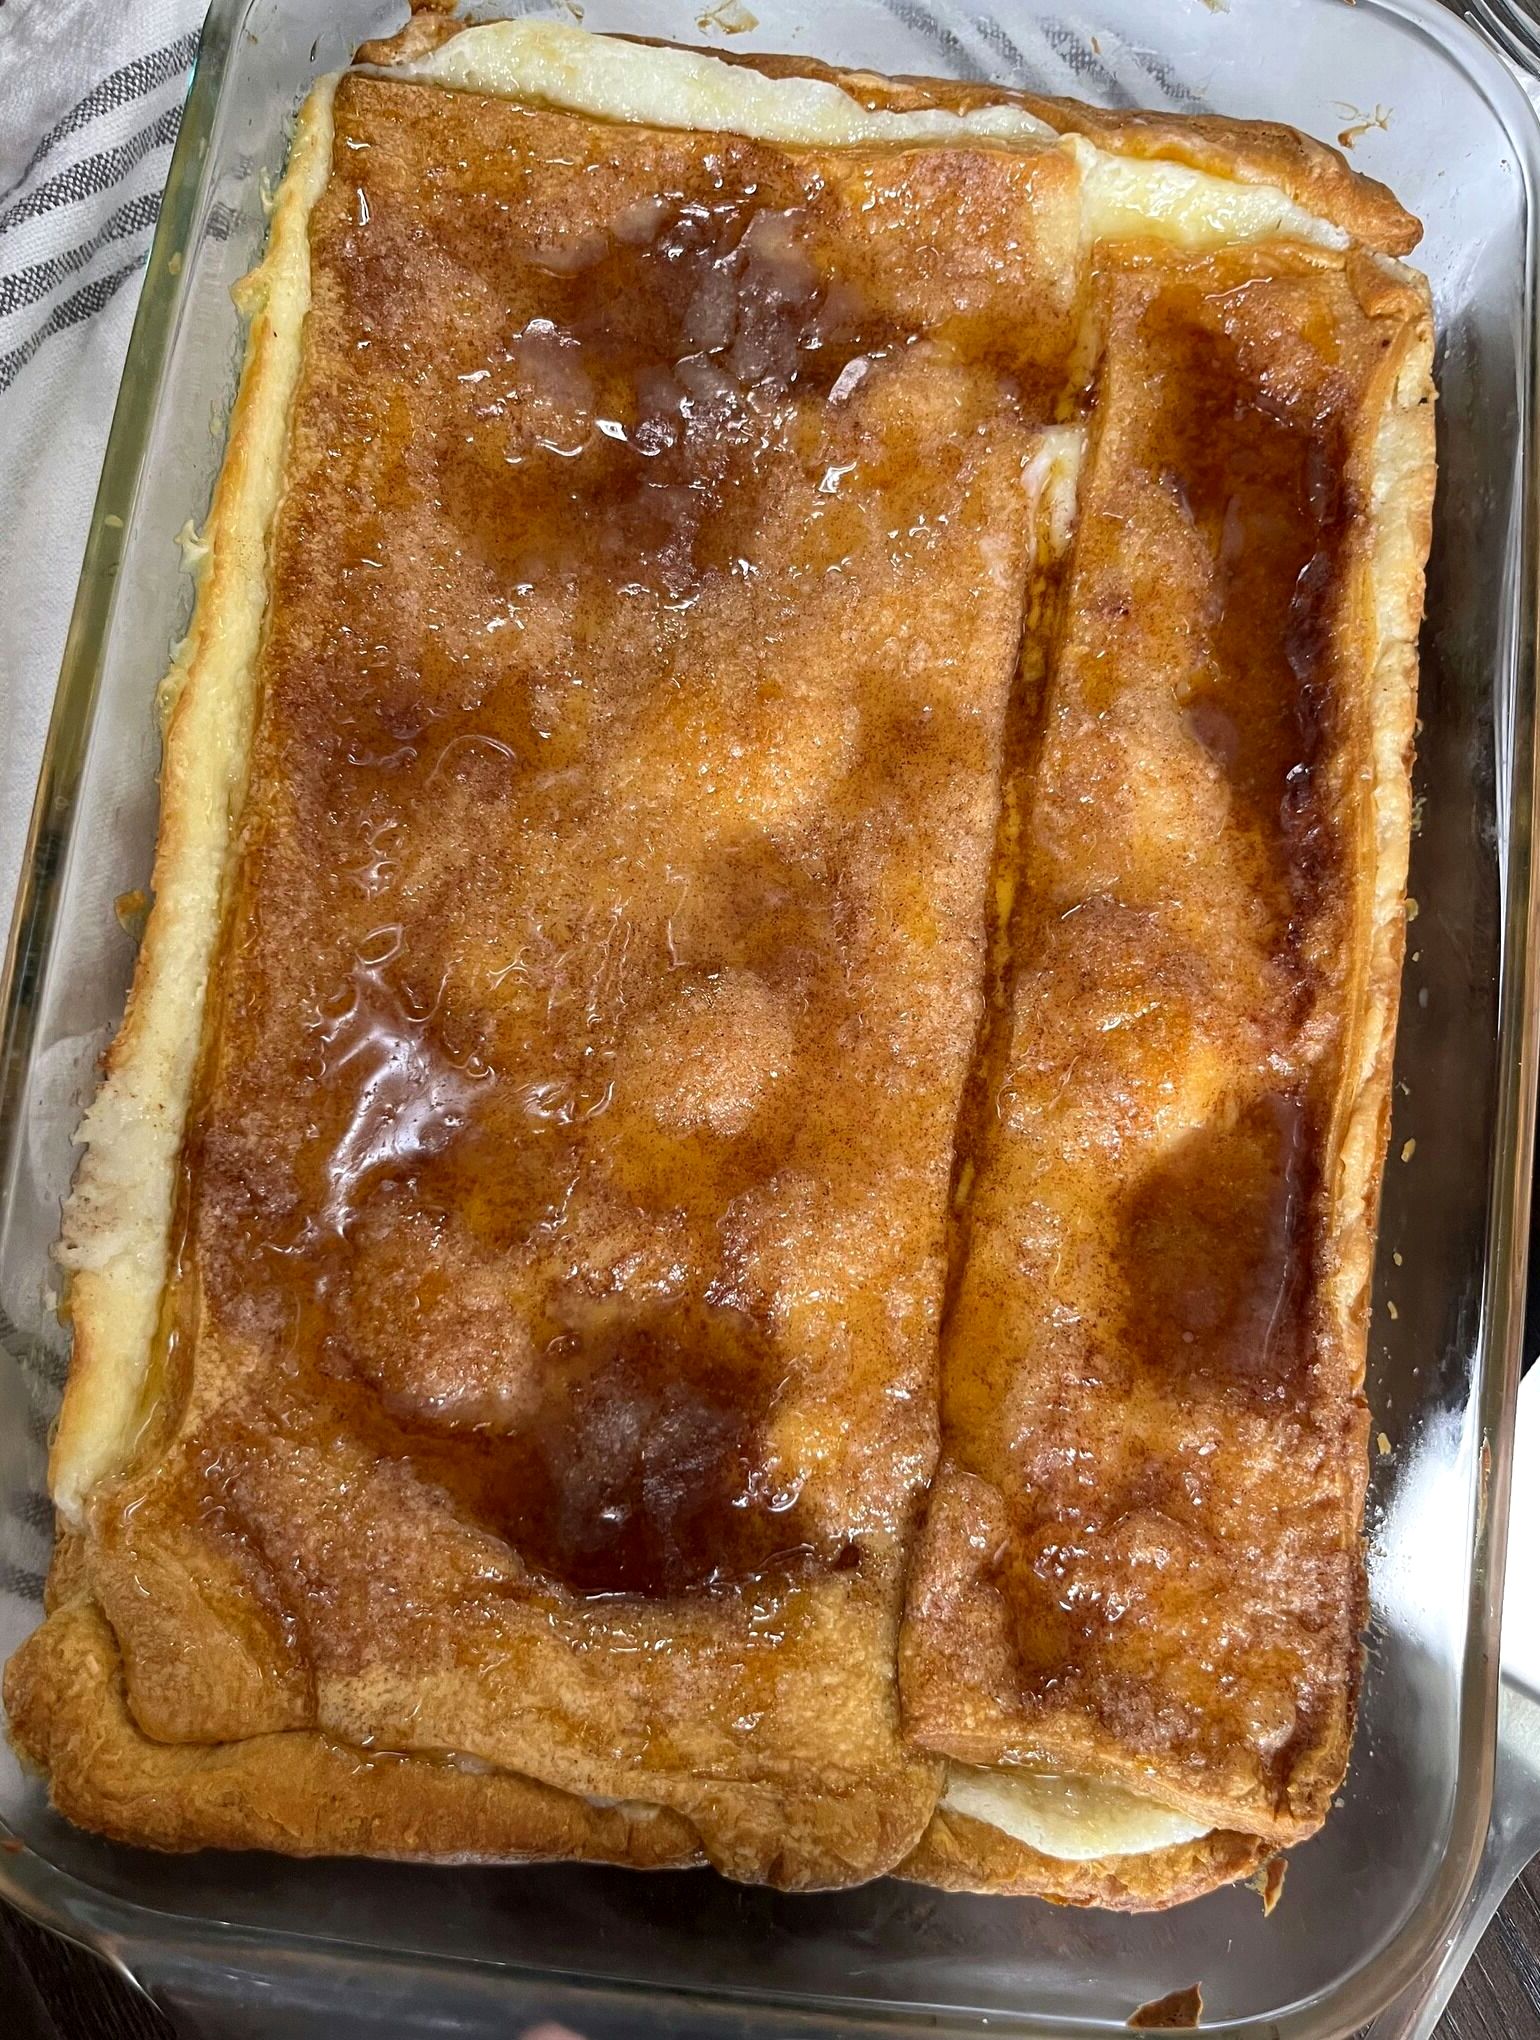
⭐ Sopapilla Cheesecake Recipe
This irresistible Sopapilla Cheesecake is a crowd-pleaser at every potluck or party. With layers of flaky crescent dough, a creamy cheesecake center, and a buttery cinnamon-sugar topping, it’s as heavenly as it sounds!
Ingredients
-
3 packages (8 oz each) cream cheese, softened
-
1 ½ cups white sugar
-
1 ½ teaspoons vanilla extract
-
2 cans (8 oz each) crescent roll dough
-
½ cup melted butter
-
½ cup white sugar (for topping)
-
1 teaspoon ground cinnamon
-
¼ cup sliced almonds
Instructions
-
Preheat your oven to 350°F (175°C).
-
Prepare the filling: In a large bowl, beat the softened cream cheese with 1½ cups of sugar and vanilla extract until smooth and creamy.
-
Roll out the dough: Unroll the crescent roll dough and use a rolling pin to shape each can into a 9×13-inch rectangle.
-
Assemble the base: Press one rectangle of dough into the bottom of a 9×13-inch baking dish.
-
Spread the filling: Evenly spread the cream cheese mixture over the dough.
-
Top it off: Place the second rectangle of dough over the cream cheese layer.
-
Add the topping:
-
Drizzle melted butter evenly over the top layer.
-
In a small bowl, mix the remaining ½ cup of sugar with cinnamon.
-
Sprinkle this cinnamon sugar over the butter.
-
Add sliced almonds on top for crunch.
-
-
Bake for about 45 minutes, or until the top is golden brown and puffed.
-
Cool completely before cutting into 12 squares.
Tips
-
For extra indulgence, drizzle with honey just before serving.
-
Best served slightly chilled or at room temperature.
-
Can be made a day ahead and stored in the refrigerator.
Make It Your Own!
Want a twist? Try adding:
-
A layer of apple pie filling under the cheesecake for a fall-inspired version.
-
A handful of chocolate chips into the cream cheese mixture.
-
A sprinkle of powdered sugar just before serving for a bakery-style finish.
For more details, visit the full recipe
Thank you for following me on Facebook , Pinterest !
ADVERTISEMENT