
ADVERTISEMENT
ADVERTISEMENT
ADVERTISEMENT
Table of Contents
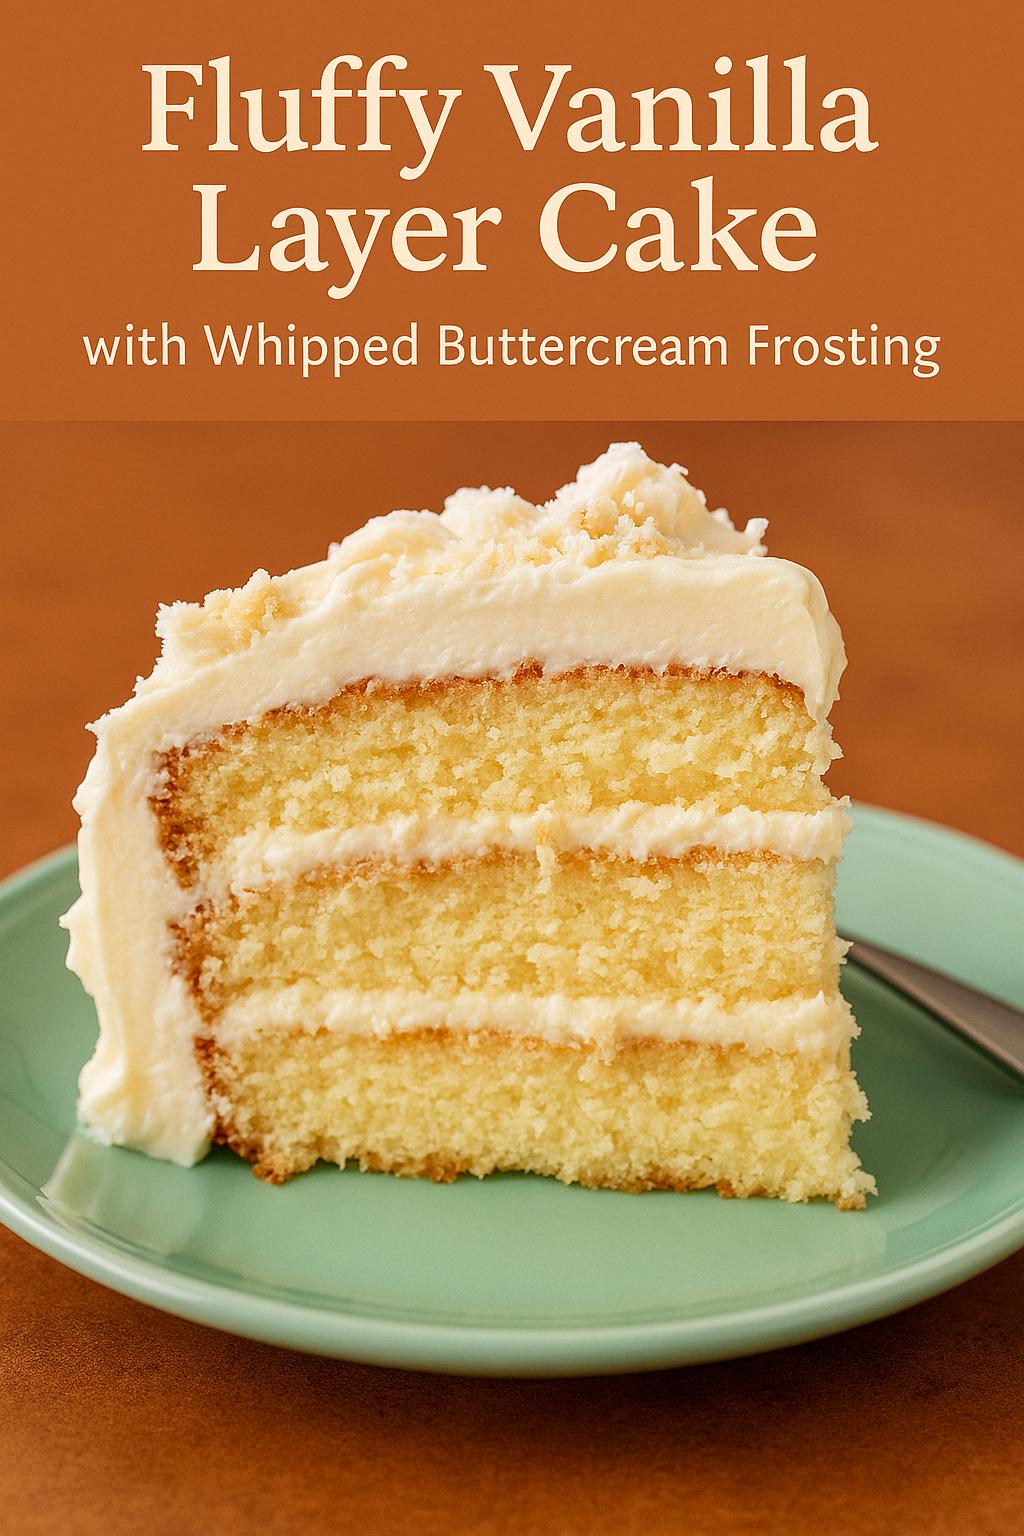
ToggleFluffy Vanilla Layer Cake with Whipped Buttercream Frosting
Nothing compares to the timeless charm of a fluffy vanilla layer cake. Whether it’s for a birthday, holiday, or just because, this classic dessert brings smiles with every bite. The magic lies in its tender, moist crumb and the luscious whipped buttercream frosting that finishes it off.
This recipe offers the perfect balance of light texture, buttery flavor, and sweet vanilla goodness—ideal for both novice bakers and seasoned cake artists alike.
If you’re looking for a go-to recipe that guarantees bakery-style results at home, you’re in the right place. Let’s dive into what makes this cake irresistibly special.
Why You’ll Love This Cake
This fluffy vanilla cake isn’t your average yellow cake. Thanks to techniques like creaming the butter and sugar properly, sifting the dry ingredients, and using the right fat-to-liquid ratio, you’ll end up with layers that are as soft as a cloud.
The whipped buttercream isn’t just any frosting—it’s smooth, creamy, and stable enough for stacking without being too heavy.
Key Benefits:
-
Light and airy texture
-
Rich, classic vanilla flavor
-
Easy to make ahead
-
Perfect for birthdays, weddings, or casual treats
Ingredients You’ll Need
For the Vanilla Cake:
-
2½ cups all-purpose flour (sifted for extra fluffiness)
-
2½ teaspoons baking powder
-
½ teaspoon salt
-
¾ cup unsalted butter (softened)
-
1¾ cups granulated sugar
-
4 large eggs (room temperature)
-
1 tablespoon pure vanilla extract
-
1 cup whole milk (room temperature)
For the Whipped Buttercream Frosting:
-
1 cup unsalted butter (softened)
-
3 cups powdered sugar
-
2–3 tablespoons heavy cream
-
1½ teaspoons vanilla extract
-
Pinch of salt
Want to use cake flour instead of all-purpose? Here’s a guide on how to convert flour types for a finer crumb.
Step-by-Step Instructions
1. Prepare Your Tools
Preheat your oven to 350°F (175°C). Grease and flour three 8-inch round cake pans or line them with parchment paper circles for easy removal.
2. Mix Dry Ingredients
In a medium bowl, whisk together:
-
Flour
-
Baking powder
-
Salt
Set aside. This ensures even distribution and helps create that signature fluffy crumb.
3. Cream Butter and Sugar
In a large mixing bowl, cream the butter and sugar together until light and fluffy (about 3-5 minutes using an electric mixer on medium-high). This step introduces air into the batter, setting the foundation for a soft and tender cake.
4. Add Eggs and Vanilla
Add eggs one at a time, mixing well after each addition. Stir in the vanilla extract.
5. Combine Wet and Dry
Alternate adding the flour mixture and milk to the butter mixture, beginning and ending with flour. Mix until just combined—do not overmix.
6. Bake
Divide the batter evenly between your prepared pans. Bake for 25–30 minutes, or until a toothpick inserted in the center comes out clean. Cool the cakes in the pans for 10 minutes, then turn out onto a wire rack to cool completely.
Making the Whipped Buttercream Frosting
1. Beat the Butter
Whip the butter on medium-high speed until smooth and pale (about 3 minutes).
2. Add Powdered Sugar
Gradually beat in the powdered sugar, 1 cup at a time, scraping down the sides of the bowl as needed.
3. Add Cream and Vanilla
Add heavy cream, vanilla, and a pinch of salt. Beat on high for another 3-4 minutes until light, fluffy, and spreadable.
Pro tip: For a less sweet frosting, reduce powdered sugar slightly and add a tablespoon of cream cheese for tang.
Assembling Your Cake Like a Pro
Tools You’ll Need:
-
Offset spatula
-
Cake turntable (optional)
-
Serrated knife (if leveling layers)
1. Level Your Cakes
Use a serrated knife to trim the tops for even layers.
2. Layer and Frost
Place one cake layer on your serving plate. Spread a generous layer of buttercream on top. Repeat with remaining layers. Finish by frosting the top and sides.
3. Decorate
Sprinkle with white chocolate shavings, edible pearls, or crumbled vanilla cookies for texture.
Let the assembled cake chill for 20 minutes before slicing for clean cuts.
Flavor Variations
Once you master the base recipe, it’s easy to customize:
-
Lemon Vanilla: Add 1 tbsp lemon zest to the batter and frosting.
-
Almond Twist: Replace ½ tsp of the vanilla with almond extract.
-
Berry Filling: Add a thin layer of raspberry or strawberry preserves between cake layers.
Storage and Make-Ahead Tips
-
Store the cake in the fridge, covered, for up to 4 days.
-
Freeze unfrosted cake layers for up to 2 months. Wrap in plastic wrap and foil.
-
Buttercream can be made ahead and stored in the fridge for 1 week or frozen for 3 months. Rewhip before using.
Expert Tips for a Perfect Bake
-
Always use room temperature ingredients.
-
Don’t overmix after adding flour—this can lead to a dense cake.
-
For extra moist layers, brush the cake with simple syrup before frosting.
-
Invest in an oven thermometer to ensure even baking temperature.
Nutritional Information (Per Slice – Approximate)
-
Calories: 420
-
Fat: 22g
-
Carbohydrates: 52g
-
Sugar: 38g
-
Protein: 4g
Note: Nutritional values may vary based on portion size and ingredients used.
Frequently Asked Questions
❓ Can I make this cake gluten-free?
Yes! Substitute all-purpose flour with a 1:1 gluten-free flour blend designed for baking. Add 1 tsp xanthan gum if not already included.
❓ Can I use oil instead of butter?
You can replace half the butter with vegetable oil for a more moist, tender crumb—though you’ll lose a bit of that classic butter flavor.
❓ What’s the difference between whipped and regular buttercream?
Whipped buttercream incorporates more air and often uses cream to lighten the texture. It’s softer and less sweet than American buttercream.
❓ Can I make this into cupcakes?
Absolutely. This recipe yields about 24 cupcakes. Bake at 350°F (175°C) for 18–20 minutes.
Final Thoughts
The fluffy vanilla layer cake with whipped buttercream frosting is an evergreen dessert for a reason. It’s simple yet elegant, easy enough for a weekend bake, and impressive enough for celebrations.
Whether you’re baking for a special occasion or just because, this cake will always rise to the moment—literally and figuratively!
For more baking ideas and tutorials, check out:
For more details, visit the full recipe
ADVERTISEMENT