
ADVERTISEMENT
ADVERTISEMENT
ADVERTISEMENT
Table of Contents
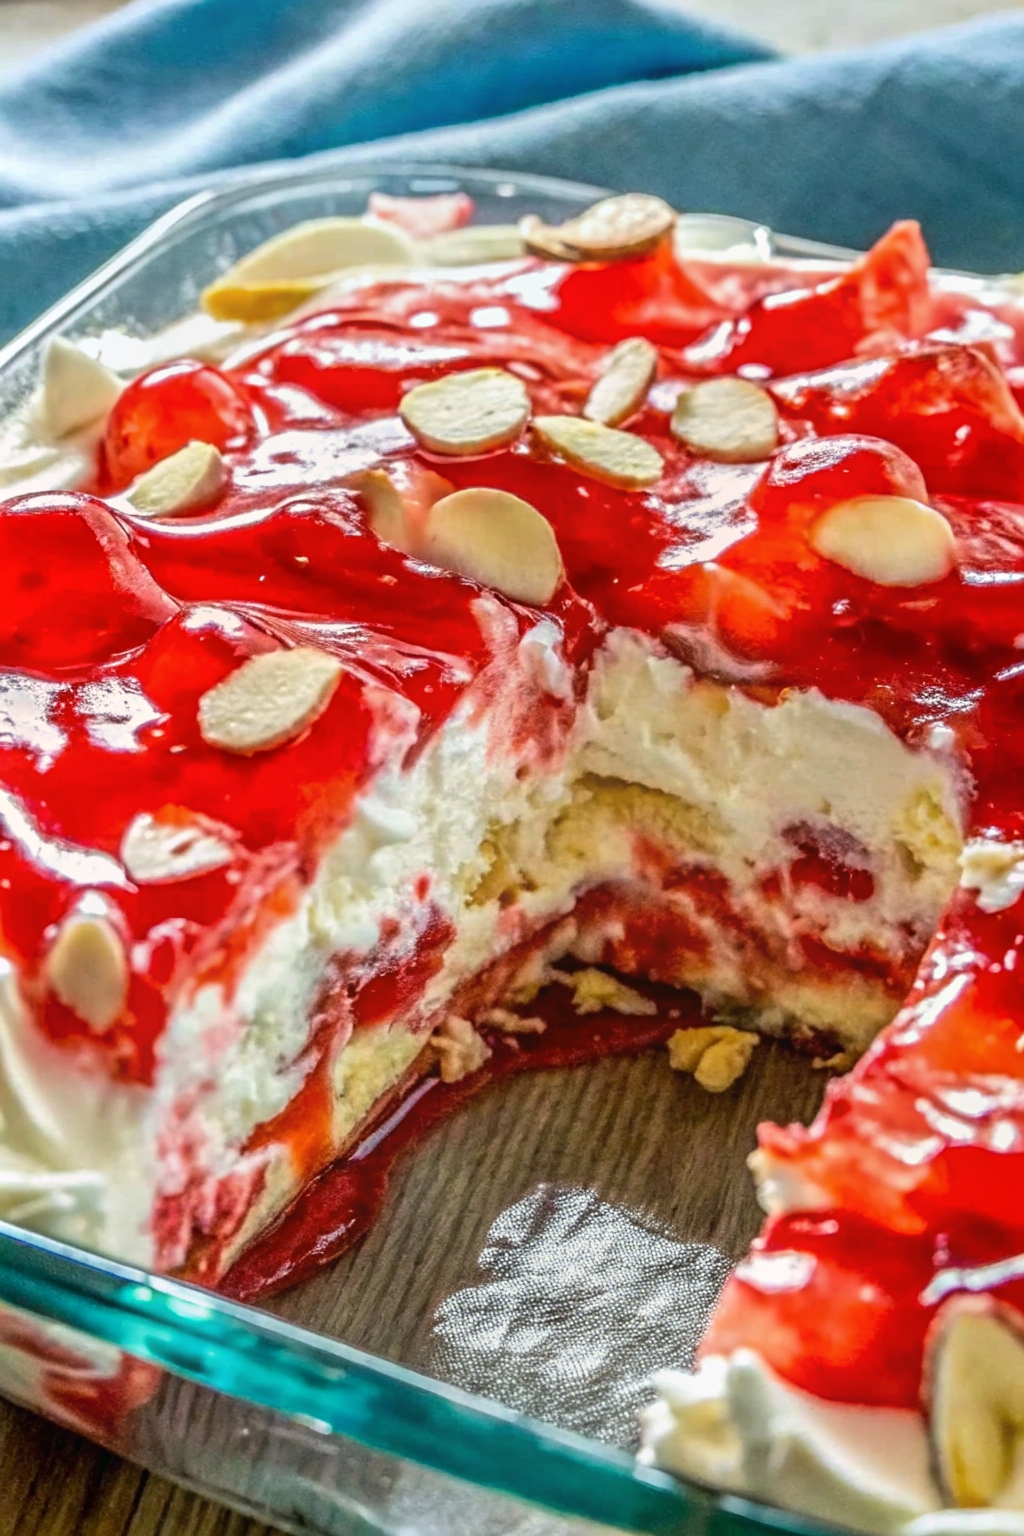
ToggleNo-Bake Cherry Cheesecake Lush Dessert
Creamy, dreamy, and bursting with sweet cherries, this No-Bake Cherry Cheesecake Lush is a layered dessert that’s a guaranteed crowd-pleaser. Whether it’s for a summer cookout or a holiday table, it’s effortless to make, requires no baking, and vanishes quickly!
Tip: This is the ultimate make-ahead dessert — just chill and serve!
Why You’ll Love This Recipe
-
No oven required – perfect for hot days!
-
Easy prep with layers of creamy goodness
-
Made with common pantry ingredients
-
Topped with luscious cherry pie filling
-
Crowd-friendly in a 9×13 pan
Ingredients
Crust:
-
2 ½ cups crushed graham crackers (or vanilla wafer cookies)
-
½ cup unsalted butter, melted
Cheesecake Layer:
-
2 (8 oz) blocks cream cheese, softened
-
1 cup powdered sugar
-
1 tsp vanilla extract
-
1 ½ cups whipped topping (like Cool Whip)
Pudding Layer:
-
1 (5.1 oz) box instant vanilla pudding mix
-
2 cups cold milk
Toppings:
-
1 (21 oz) can cherry pie filling
-
2 cups whipped topping
-
¼ cup sliced almonds (optional, for crunch)
Instructions
1. Make the Crust
In a bowl, combine crushed graham crackers and melted butter. Press firmly into the bottom of a 9×13-inch glass dish. Chill in the freezer for 10 minutes to firm up.
2. Make the Cheesecake Layer
In a mixing bowl, beat the softened cream cheese until smooth. Add powdered sugar and vanilla extract; mix well. Fold in whipped topping until creamy. Spread evenly over the chilled crust.
3. Add the Pudding Layer
Whisk together pudding mix and cold milk until thickened (about 2-3 minutes). Spread over the cream cheese layer.
4. Top with Cherries
Carefully spread cherry pie filling over the pudding. Try not to mix the layers.
5. Final Whip & Almonds
Spread remaining whipped topping on top. Sprinkle with sliced almonds for added texture and visual appeal.
6. Chill and Serve
Refrigerate for at least 4 hours (preferably overnight) before serving. Slice and enjoy!
Notes & Variations
-
Crust Options: Swap graham crackers for crushed Golden Oreos or shortbread cookies.
-
Fruit Variations: Try blueberry or strawberry pie filling.
-
Nut-Free Option: Skip the sliced almonds if serving to guests with allergies.
-
Make Ahead: This dessert keeps well for 2–3 days in the fridge.
Related Recipes on RangerMT.com
External Inspiration
For more no-bake dessert ideas, check out:
Storage Tips
-
Store covered in the refrigerator for up to 3 days
-
Not recommended for freezing — the creamy layers may separate
ADVERTISEMENT

ADVERTISEMENT
No-Bake Cherry Cheesecake Lush Dessert
- Author: kecha
Description
This No-Bake Cherry Cheesecake Lush Dessert is a dreamy, layered treat that combines a buttery graham cracker crust, a light and fluffy cream cheese layer, sweet cherry pie filling, and whipped topping. It’s perfect for holidays, potlucks, or when you need a quick and impressive dessert—no oven required!
Ingredients
Crust Layer:
-
2 cups graham cracker crumbs
-
1/2 cup unsalted butter, melted
-
2 tablespoons granulated sugar
Cream Cheese Layer:
-
8 oz (1 package) cream cheese, softened
-
1 cup powdered sugar
-
1 teaspoon vanilla extract
-
1 (8 oz) tub whipped topping (like Cool Whip), thawed
Cherry Layer:
-
1 (21 oz) can cherry pie filling
Topping:
-
1 (8 oz) tub whipped topping, for top layer
-
Optional: extra graham cracker crumbs or white chocolate shavings for garnish
Instructions
Step 1: Prepare the Crust
-
In a mixing bowl, combine graham cracker crumbs, melted butter, and sugar.
-
Press mixture firmly into the bottom of a 9×13-inch dish.
-
Refrigerate for 10–15 minutes to set while preparing the next layer.
Step 2: Make the Cheesecake Layer
-
In a separate bowl, beat softened cream cheese with powdered sugar and vanilla until smooth and creamy.
-
Fold in 1 tub (8 oz) of whipped topping until well combined.
-
Spread the cream cheese mixture evenly over the chilled crust.
Step 3: Add the Cherry Layer
-
Gently spread the cherry pie filling over the cream cheese layer. Try not to mix the layers.
Step 4: Final Whipped Topping Layer
-
Top everything with the second tub of whipped topping, spreading it to the edges to seal.
-
Sprinkle with crushed graham crackers or white chocolate if desired.
Step 5: Chill & Serve
-
Cover the dessert with plastic wrap and refrigerate for at least 4 hours (or overnight for best results).
-
Slice and serve chilled.
Notes
-
Make Ahead Friendly: This dessert gets better as it chills. Overnight chilling helps the layers firm up beautifully.
-
Crust Variations: Substitute graham crackers with crushed vanilla wafers, Oreos (no filling), or digestive biscuits.
-
Filling Flavor Twist: You can use blueberry, strawberry, or peach pie filling for a different flavor.
-
Homemade Whipped Cream: If preferred, you can replace store-bought whipped topping with homemade whipped cream (about 3 cups).
-
Storage: Keep leftovers refrigerated in an airtight container for up to 4 days.
ADVERTISEMENT