ADVERTISEMENT
ADVERTISEMENT
Introduction
ADVERTISEMENT
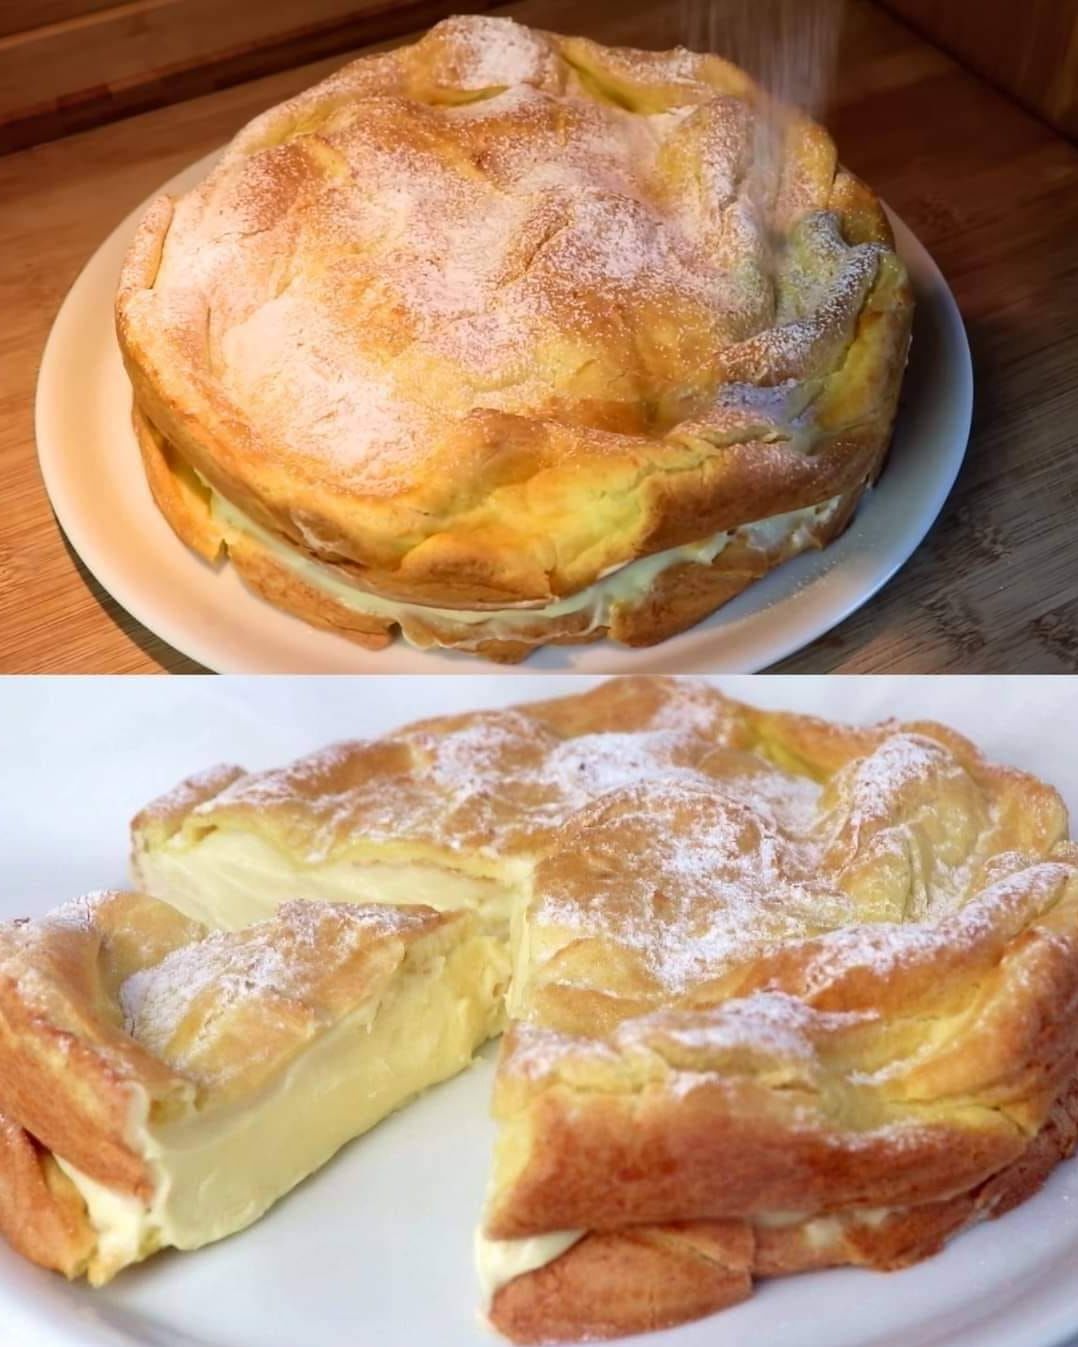
This cake is a reimagined version of classic cream puffs, made as a single-layer dessert that’s easy to slice and share. It features a choux pastry base, a rich vanilla cream cheese pudding filling, and is topped with whipped cream or powdered sugar for a festive touch.
Ingredients
For the pastry crust:
- 1/2 cup unsalted butter
- 1 cup water
- 1 cup all-purpose flour
- 4 large eggs
For the filling:
- 8 ounces cream cheese, softened
- 3 cups milk
- 1 large box (5.1 oz) instant vanilla pudding mix
For the topping:
- 8 ounces whipped topping (e.g., Cool Whip) or homemade whipped cream
- Optional: Powdered sugar or chocolate drizzle for garnish
Instructions
- Prepare the crust:
- Preheat the oven to 400°F (200°C).
- In a saucepan, bring butter and water to a boil. Add flour all at once and stir vigorously until the mixture forms a ball.
- Remove from heat, let cool slightly, then add eggs one at a time, beating well after each addition.
- Spread the mixture into a greased 9×13-inch baking dish, covering the bottom and slightly up the sides. Bake for 35 minutes or until golden brown. Let it cool completely.
- Make the filling:
- Beat softened cream cheese until smooth.
- Gradually add milk while mixing to prevent lumps. Stir in the pudding mix and beat until it thickens.
- Spread the filling evenly over the cooled crust.
- Add the topping:
- Spread whipped topping over the pudding layer. Alternatively, dust with powdered sugar for a lighter finish.
- Refrigerate for at least an hour to set.
- Serve:
- Slice and serve chilled. For added decoration, drizzle with chocolate syrup or add fresh fruit.
Conclusion
The Cream Puff Cake is an elegant dessert that’s surprisingly simple to make. It’s perfect for special occasions or potlucks, offering a creamy, light texture that pairs wonderfully with coffee or tea. Store leftovers in the refrigerator for up to 3 days for the best taste and texture.
For more details, visit the full recipe
